25W LED Fill Light with LCD: Dimmable Studio Control
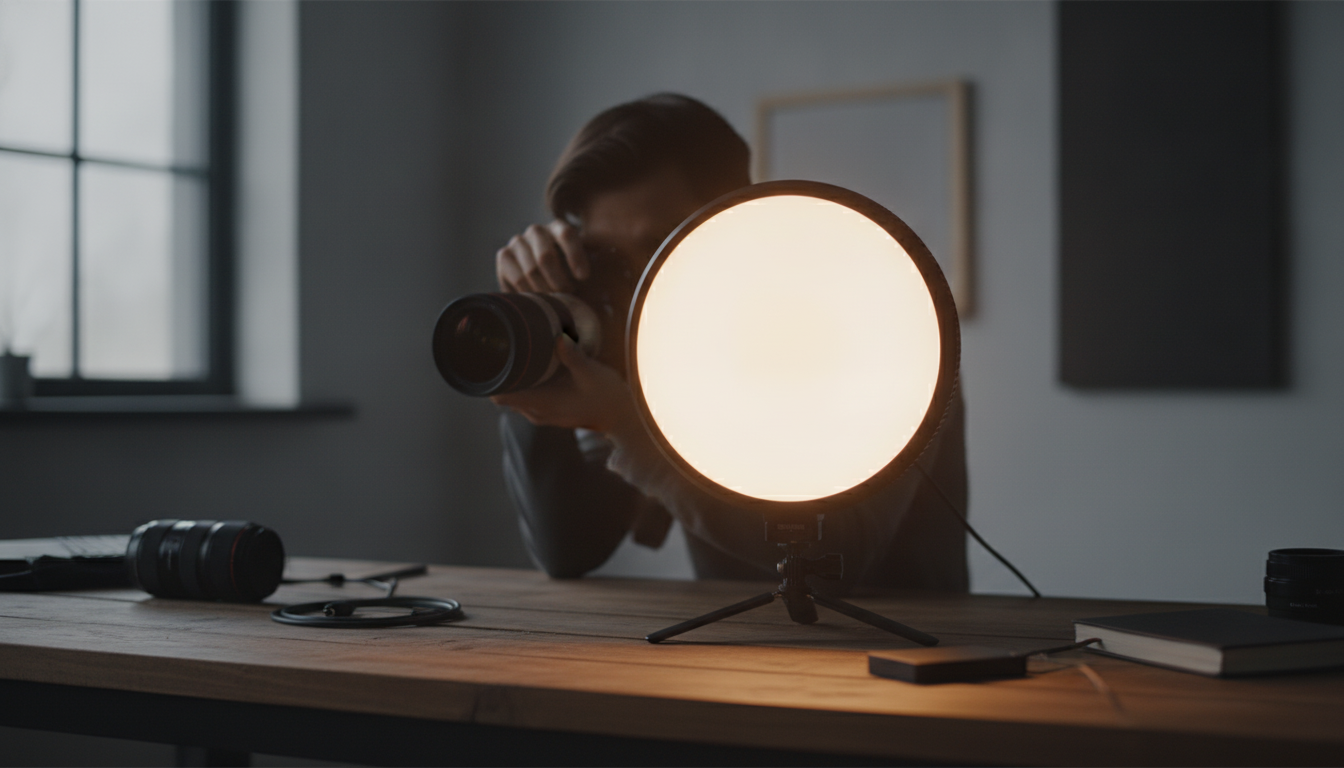
25W Dimmable LED Fill Light with LCD Display for Camera and Studio Photography
Consistent lighting is one of the fastest ways to improve image quality for portraits, product shots, streaming, and video calls. A 25W dimmable LED fill light with an LCD display offers quick brightness control, repeatable settings, and a compact setup that works in small home studios as well as on-location shoots. When the goal is cleaner skin tones, more readable product textures, and fewer “fix it in post” surprises, a controllable fill light can do more than a new lens or a higher ISO ever will.
What a 25W LED fill light does in a photo or video setup
A fill light is the “shadow manager” of a scene. Instead of replacing your key light (the main shaping light), it supports it by lifting darker areas just enough to look natural and detailed.
- Fills shadows to reduce harsh contrast on faces and reflective products.
- Improves color and texture detail by raising overall exposure without boosting ISO as much.
- Creates controllable catchlights in eyes for portraits and talking-head video.
- Supports repeatable results when the same lighting level is needed across multiple takes or products.
At 25W, this class of LED light is often bright enough to work close to the subject—especially when used as fill—while staying compact for desks, corner studios, and travel kits.
Key features that matter most (and why the LCD helps)
Not all LED panels or compact fixtures behave the same once you start dimming them. The most useful features are the ones that keep your exposure stable and your workflow predictable.
- Dimmable output: Fine-tune intensity to match ambient light or other fixtures without changing camera settings as drastically.
- LCD readout: Makes it easier to return to the same brightness level later, especially when shooting a series or reshoots.
- Stable, flicker-minimized illumination: Helps reduce banding and exposure pulsing in video at common frame rates.
- Compact power-to-size ratio: A 25W class light is often easier to place close to the subject when space is tight.
Color consistency also matters. If you’ve ever noticed skin tones shift from warm to greenish between clips, that’s often a mix of white balance drift and light source behavior. For background on color quality concepts, the CIE is a widely recognized authority in lighting and color science.
Quick checks before a shoot
| Check | Why it matters | Fast tip |
|---|---|---|
| Match brightness to exposure | Avoid blown highlights and noisy shadows | Dim the light first, then set ISO/shutter/aperture |
| Confirm consistent color | Keeps skin tones and product colors predictable | Use a custom white balance or gray card if available |
| Set distance and diffusion | Controls softness and specular reflections | Move the light closer for softer shadows; add diffusion for glossy items |
| Lock a repeatable level | Saves time on reshoots and multi-product sessions | Note the LCD value and keep it consistent per scene |
Best-use scenarios for this style of fill light
A dimmable 25W LED fill light is a practical “do-a-lot” tool because it adapts to different subjects and spaces with small adjustments.
White balance terminology can be confusing when you’re mixing room lighting with LEDs. If you need a quick refresher on how “warm” and “cool” lighting is described, color temperature is a useful reference point for matching settings across scenes.
Simple placement patterns for flattering results
For video, flicker concerns are real—especially at certain shutter speeds or when dimming deeply. For technical background on LED flicker and measurement context, see information from NIST.
Practical buying notes for a 25W dimmable LED light
Product spotlight: 25W Dimmable LED Fill Light for Camera & Studio Photography with LCD Display
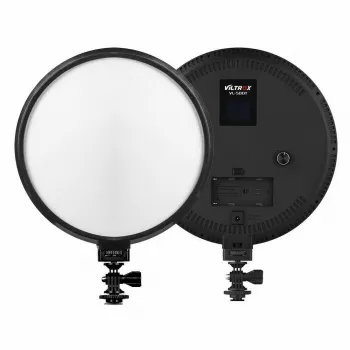
If you want a compact fill light designed for adjustable output and repeatable control, the 25W Dimmable LED Fill Light for Camera & Studio Photography with LCD Display is a practical fit for home studios, desk setups, and content creation spaces. The LCD display supports consistent brightness settings across multi-shot sessions, making it easy to return to the same look after breaks or reshoots.
At-a-glance details
| Item | Detail |
|---|---|
| Product | 25W Dimmable LED Fill Light for Camera & Studio Photography with LCD Display |
| Price | $80.17 USD |
| Availability | In stock |
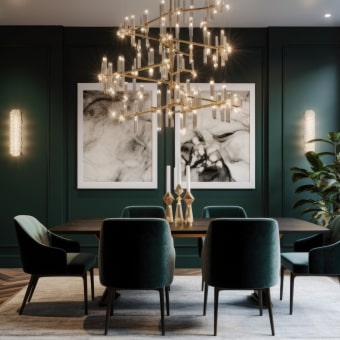
For lighting-related planning beyond the camera, the How to Choose Chandelier by Height and Scale Checklist is a handy reference when you’re coordinating room lighting and scale—useful if you’re filming or photographing in styled interiors where the fixture becomes part of the scene.
If you’re building a small product photography portfolio, consider practicing on items with texture and embossed detail like the 16 Piece Blue Stoneware Dinner Set – Elegant Floral Embossed Plates & Bowls; it’s the kind of subject where controlled fill light helps retain pattern detail while keeping highlights from looking harsh.
FAQ
How far should a 25W LED fill light be from the subject?
A good starting range is about 2–5 feet for faces and small products, moving closer for softer shadows and backing up for more contrast. Adjust distance first (it changes softness and intensity quickly) before turning the power up, and add diffusion if the light is close and reflections look too sharp.
Will a dimmable LED fill light cause flicker in video?
It depends on the light’s driver and dimming method, plus your frame rate and shutter speed. Test at your planned settings, and if flicker appears, try a different shutter speed or avoid the very lowest dim levels where some LEDs are more likely to pulse.
How do LCD brightness levels help with consistent results?
An LCD readout lets you return to the same output level across sessions, match multiple lights more easily, and reduce time spent re-dialing exposure for reshoots. It also makes it simple to log a “known good” brightness setting for a specific product or scene.








Leave a comment