RGB USB Condenser Mic Setup for Streaming, Gaming & Recording
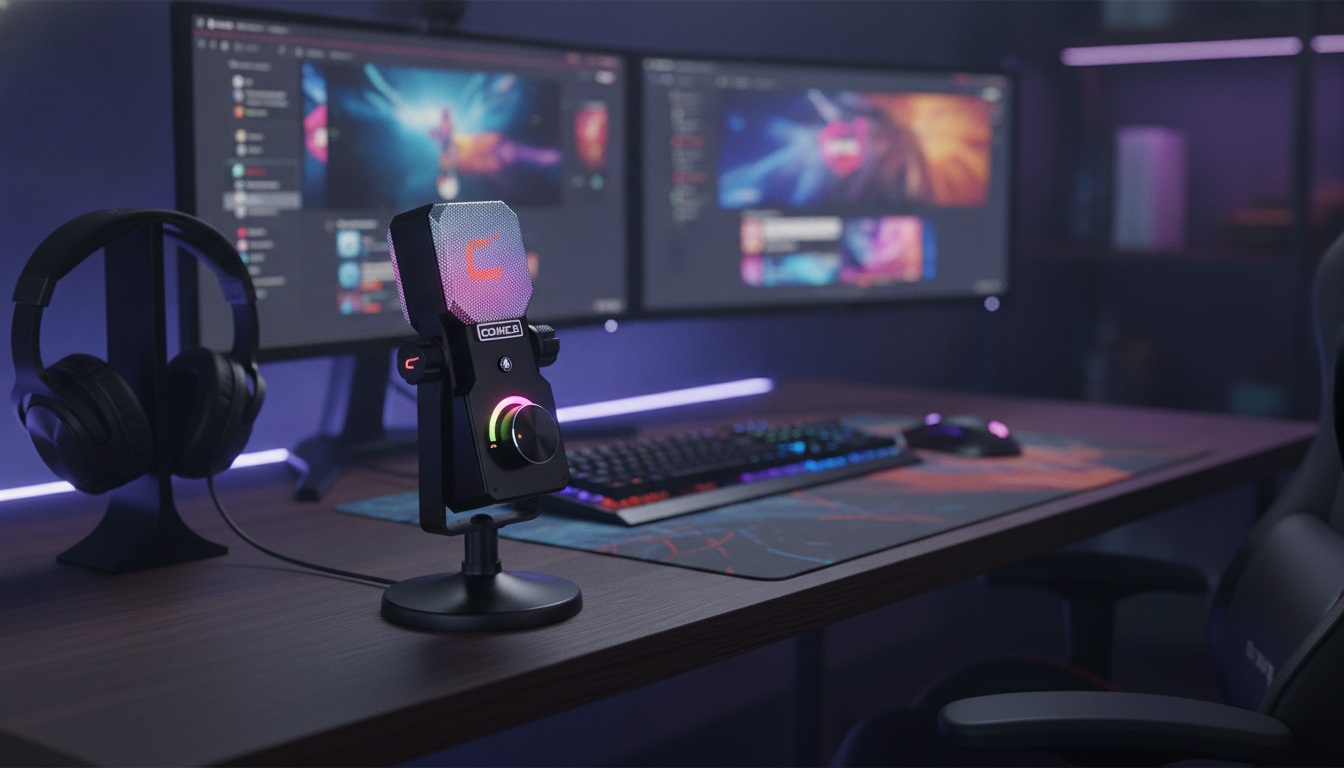
RGB USB Condenser Microphone for Streaming, Recording, Gaming & Studio
A USB condenser mic with RGB lighting is built for clean, close-up voice capture while keeping a setup visually cohesive on camera. The biggest upgrade most creators notice is intelligibility: your voice stays up front in streams, calls, and recordings with less “distant room” sound than many built-in laptop or webcam mics. This guide covers what to expect from an RGB USB condenser microphone, how to set it up for typical creator workflows, and how to tune levels so voice stays present without clipping or background noise.
What This Microphone Fits Best
- Live streaming and voice chat: clear speech pickup for commentary and calls
- Recording voiceovers, podcasts, and narration: detailed vocal capture with simple USB connectivity
- Gaming setups: improved intelligibility compared with many headset mics, plus desk-friendly placement
- Home studio demos: fast tracking for vocals, acoustic instruments, and scratch takes
- On-camera desks: RGB lighting adds visual accent without extra accessories
If you want a plug-and-play mic that looks good on camera and can be positioned close to your mouth, start with the RGB USB Condenser Microphone for Streaming, Recording, Gaming & Studio.
Key Features to Look For in an RGB USB Condenser Mic
- Condenser capsule behavior: condensers capture more detail and sensitivity than many dynamic USB mics, which can reveal room noise if the space is untreated.
- Pickup pattern and off-axis sound: a directional pattern helps prioritize your voice over keyboard clicks and room reflections.
- Gain control and mute: quick access is valuable for streaming, meetings, and preventing accidental audio leaks.
- Headphone monitoring (if available): direct monitoring helps avoid latency while speaking or singing.
- RGB modes and brightness: lighting should look consistent on camera and be dimmable to reduce glare on glasses or glossy screens.
For practical mic technique (distance, angle, and proximity effect), Shure’s placement guidance is a reliable reference: Microphone Techniques.
Quick Setup for Streaming, Recording, and Gaming
1) Placement and angle (the fastest “sound quality” upgrade)
- Placement: start 6–10 inches from your mouth; speak across the mic rather than directly into it to reduce plosives.
- Angle: tilt slightly off-center; this keeps consonants clear while lowering bursty air noise.
- Stability: mount on a stand or boom arm if possible to reduce desk vibration and key thumps.
2) Select the mic in the right places
- Operating system: set the USB mic as the default input device and confirm the input level is not maxed out.
- Streaming/recording app: select the same mic again inside OBS, Discord, Zoom, Audacity, or your DAW—apps often keep their own input setting.
3) Set healthy levels (avoid “quiet then suddenly distorted”)
- Leveling target: set input gain so normal speech peaks around -12 dB to -6 dB in your app meters.
- Leave headroom: laughs, excited moments, or emphasis should still stay below 0 dB to prevent clipping.
If you’re new to meter reading and recording levels, Audacity’s documentation is a helpful baseline for understanding monitoring and peaks: Audacity Manual.
Recommended Starting Settings (Clean Voice Without Harshness)
- Noise control: choose light noise suppression rather than aggressive filtering that can create pumping or underwater artifacts.
- High-pass filter (if available): roll off very low frequencies to reduce desk rumble and HVAC noise.
- EQ: make a small cut around muddy low-mids if the voice sounds boxy; add a small presence boost only if needed.
- Compressor: gentle compression improves consistency for streaming; heavy compression can pull room noise forward.
- Gate/expander: use carefully—set the threshold so quiet syllables don’t get chopped.
Fast Tuning Checklist
| Goal | What to adjust first | Typical result |
|---|---|---|
| Too quiet | Input gain, distance to mic | Voice sits above game audio without clipping |
| Popping P/B sounds | Angle off-axis, add windscreen/pop filter | Plosives reduced while keeping clarity |
| Keyboard clicks too loud | Mic closer to mouth, lower gain, reposition keyboard | Better voice-to-noise ratio |
| Room echo | Move closer, add soft furnishings, reduce sensitivity/gain | Less reverb and a tighter sound |
| Distortion/clipping | Lower gain, increase distance slightly | Clean peaks with headroom |
For creators on RTX systems, software noise removal can help when the room isn’t ideal—especially for keyboard and fan noise—so long as it’s applied lightly: NVIDIA Broadcast.
Lighting and On-Camera Presentation
- Match RGB to your scene lighting: keep saturation moderate so skin tones remain natural on camera.
- Avoid flicker: use steady lighting modes for video, especially at higher shutter speeds.
- Reduce reflections: dim the mic lighting if it reflects in glasses, glossy monitors, or a glass desk surface.
- Cable management: route the USB cable along an arm or behind the monitor for a cleaner frame.
If you’re also refining your room’s fixture layout (especially for a streaming corner that doubles as a workspace), the How to Choose Chandelier by Height and Scale Checklist | Chandelier Sizing Guide | Lighting Design Tips | Digital Download can help you plan overhead lighting placement and proportions.
Care, Troubleshooting, and Common Fixes
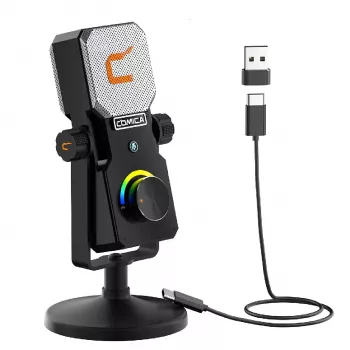
RGB USB Condenser Microphone for Streaming, Recording, Gaming & Studio: At-a-Glance
FAQ
Is a USB condenser microphone good for streaming and gaming?
Yes—USB condenser mics are convenient and can sound very detailed for streaming and gaming. Place the mic close, set gain so peaks stay below 0 dB, and use light noise control to minimize keyboard and room pickup.
How far should the microphone be from the mouth for clear voice?
Start around 6–10 inches and move slightly closer if you need better isolation from background noise. Speaking a bit off-axis and using a pop filter helps reduce plosives while keeping clarity.
Why does my voice sound distorted or clipped?
Distortion usually comes from input gain being too high in the mic, the operating system, or the app—especially during loud peaks. Lower the gain, increase distance slightly, and watch your meter so peaks stay safely below 0 dB.









Leave a comment